When your air conditioning unit isn't working properly, one of the most common causes is a refrigerant leak. Refrigerant leaks can be difficult to diagnose and can lead to costly repairs if not addressed in a timely manner. In this comprehensive overview, we will explain what a refrigerant leak is, how it occurs, and the steps involved in repairing it. We will also discuss the importance of regular maintenance and possible preventative measures to help reduce the risk of a refrigerant leak.
By understanding the importance of refrigerant leak repair, you can ensure that your air conditioning unit continues to operate optimally.
Common Causes of Refrigerant Leaks
Refrigerant leaks are a common problem in air conditioning systems and can be caused by a variety of factors. One of the most common causes is damage to the system’s components, such as the compressor, condenser coils, or refrigerant lines. Damage can be caused by physical contact, corrosion, and wear and tear. Improper installation can also be a cause of refrigerant leaks. If the components are not correctly connected or the refrigerant is not properly charged during installation, it can lead to a refrigerant leak.Additionally, age-related wear and tear can also cause refrigerant leaks over time as parts of the system deteriorate.
Identifying and Diagnosing a Refrigerant Leak
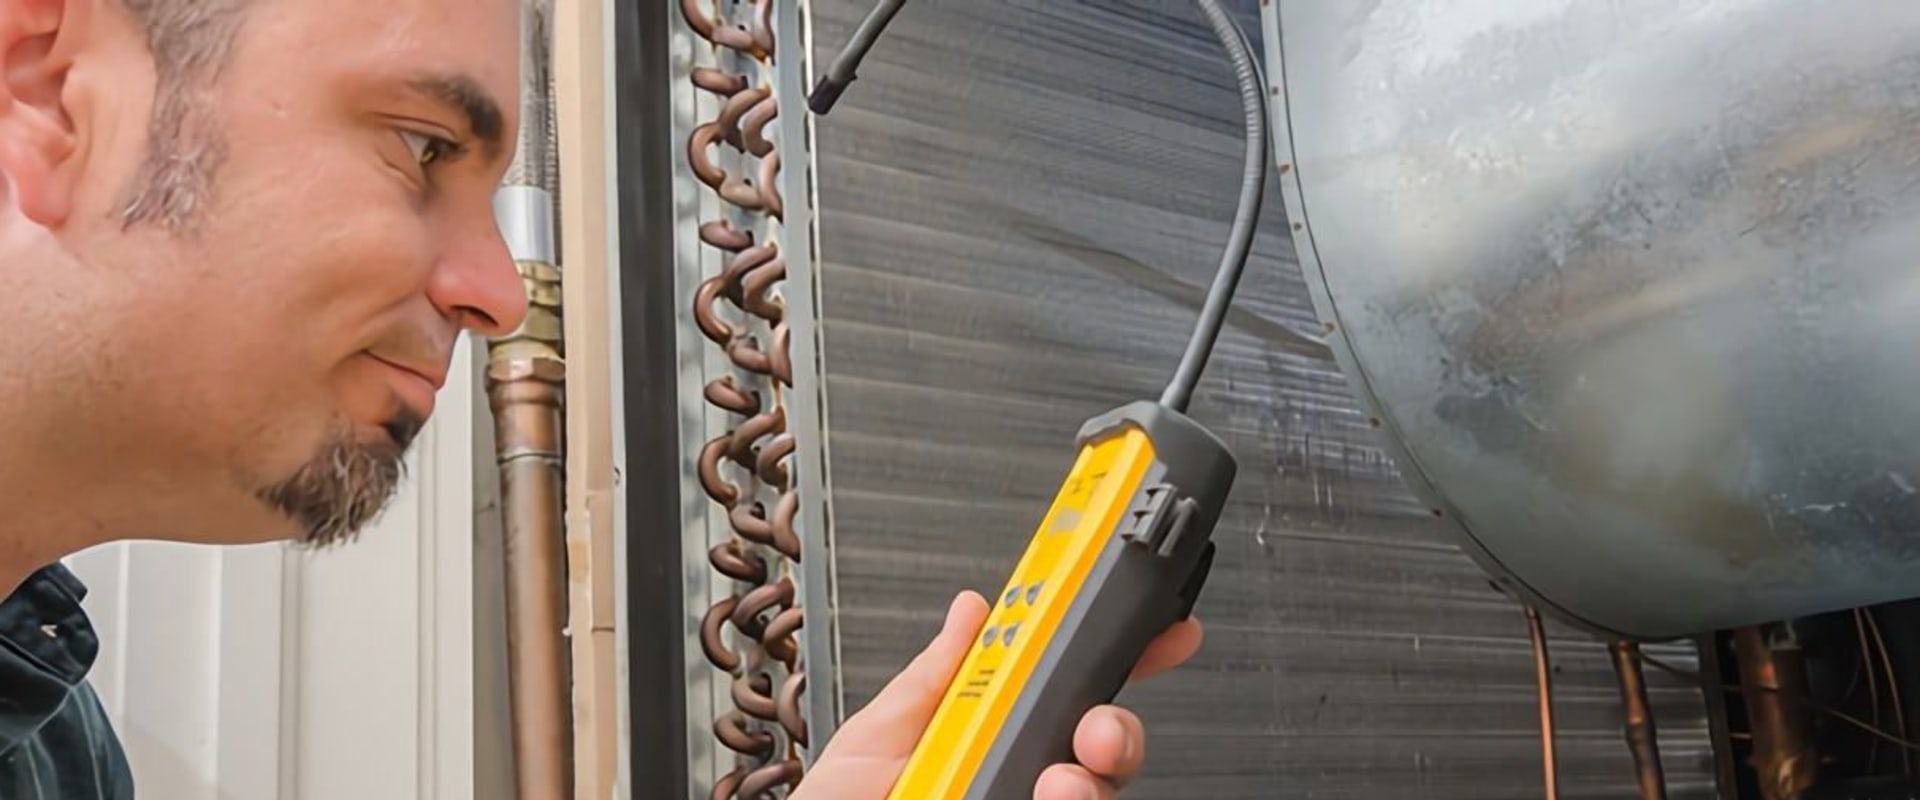
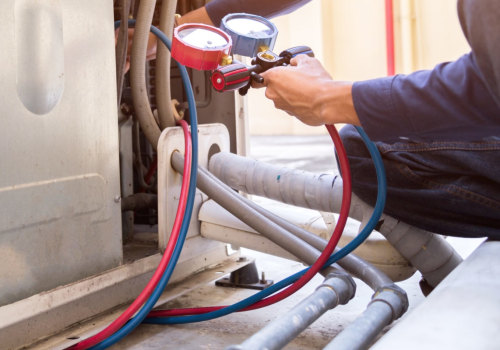
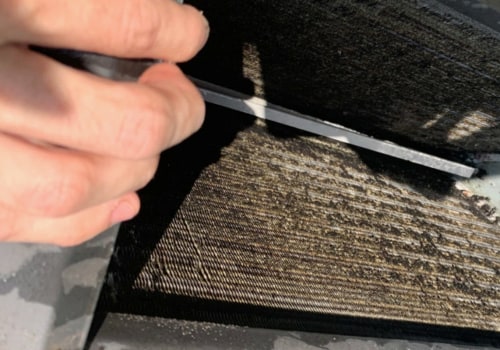
When attempting to identify and diagnose a refrigerant leak, there are a few key steps that need to be taken. The first step is to perform a visual inspection of the system. This will help to identify any obvious signs of a leak, such as visible refrigerant fluid or damaged hoses or components. If the visual inspection does not reveal any issues, the next step is to perform pressure tests on the system.Pressure tests allow technicians to measure the pressure within the system and identify if any of the components are not operating at the correct pressure. Additionally, electronic leak detectors can be used to identify any potential leaks that may not be identified through other methods. By taking these steps, technicians can effectively identify and diagnose a refrigerant leak. Visual inspections, pressure tests, and electronic leak detectors are all essential tools for this process, and should be used when attempting to identify and diagnose refrigerant leaks.
Avoiding Future Refrigerant Leaks
In order to avoid future refrigerant leaks, there are several steps that can be taken. Proper maintenance is key to ensuring that your air conditioning system runs smoothly and without leaks. This includes regularly checking for signs of leaks, as well as regularly servicing the system to ensure it is functioning properly. When installing new components, it's important to make sure that they are properly sealed and that any connections are secure. This can help to prevent future refrigerant leaks.Additionally, it's important to use the proper type of refrigerant for the system. Using the wrong type of refrigerant can lead to leaks and other problems. Finally, it's important to check the air conditioning system regularly for signs of leaking. If a leak is detected, it should be addressed as soon as possible in order to avoid further damage.
Tips for Troubleshooting Refrigerant Leaks
When it comes to troubleshooting refrigerant leaks, the first step is to identify where the leak is coming from. To do this, inspect the air conditioner’s components, such as the condenser, evaporator coil, and compressor.Look for signs of wear, such as frayed or cracked insulation, loose fittings, or any other visible damage. If a leak is found, use a vacuum pump to draw out any remaining refrigerant from the system. This will help you determine the extent of the leak and prevent further damage. It’s also important to check for leaks in the system’s hoses and tubing.
These can be difficult to find, so use a UV light and a UV dye to help locate any potential leaks. If the leak is not visible, use a refrigerant detector to locate it. A refrigerant detector is an electronic device that detects refrigerant gases and emits an audible alarm when a leak is detected. Once you have located the leak, use a repair kit to patch it up.
These kits usually contain a flexible sealant and a rubber hose clamp that can be used to seal up any holes or cracks. Finally, use a vacuum pump to suck out any remaining air in the system. This will help ensure that your system is properly sealed and won’t experience further refrigerant leaks in the future.
Refrigerant Leak Repair Process
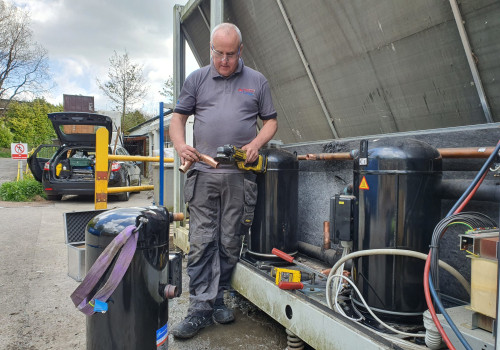
Repairing a refrigerant leak requires some knowledge of air conditioning systems and the ability to identify problems and diagnose them correctly. The first step is to locate the leak and identify any parts that need to be replaced or repaired.If the leak is in the evaporator coil, it may be necessary to replace the coil or other components. If the leak is in the condenser, it may be necessary to repair or replace the condenser fan, condenser motor, compressor, or other components. Once the leak has been identified and the parts needed for repair have been determined, it's time to begin the actual repair. The next step is to ensure that all of the necessary components are working properly. This includes checking valves, hoses, and other components for proper operation.
If any components need to be replaced, they should be replaced with new parts that meet the manufacturer's specifications. Once all of the necessary components are in working order, it's time to start repairing the leak. The repair process typically involves using a specific refrigerant-leak-repair kit. This kit includes tools such as a vacuum pump and leak detector. The technician will use these tools to locate and seal the leak.
Once the leak has been identified and sealed, the technician will fill the system with new refrigerant. This helps restore the system's performance and efficiency. Finally, it's important to check for any other potential issues that could have caused or contributed to the leak. This could include worn hoses or seals, incorrect installation of parts, or other problems. If any other issues are found, they should be addressed before the repair is complete.
Once all of these steps have been completed, the system should be ready for use again.


